
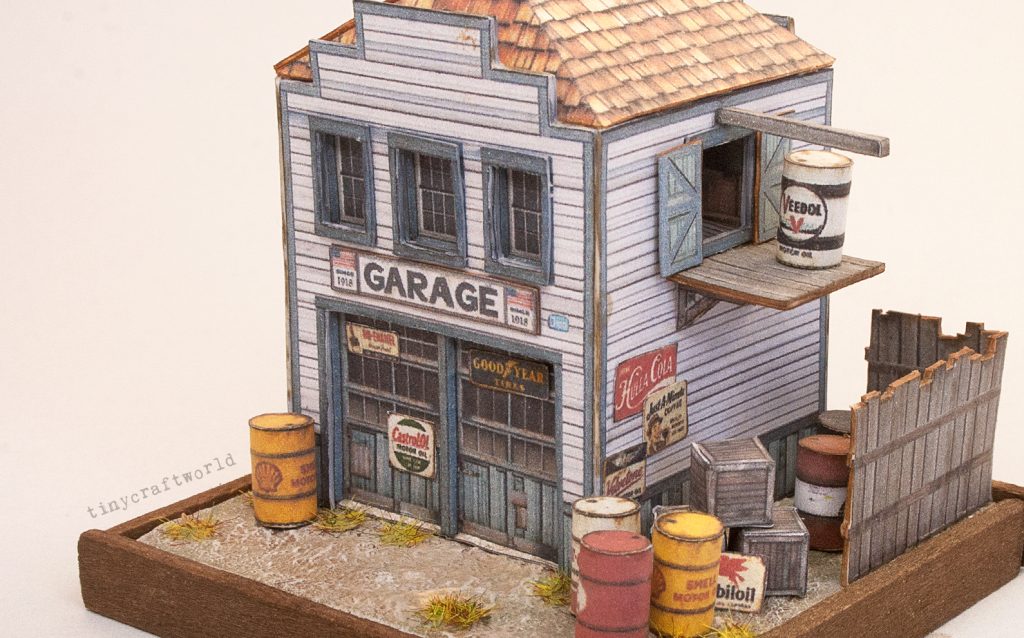
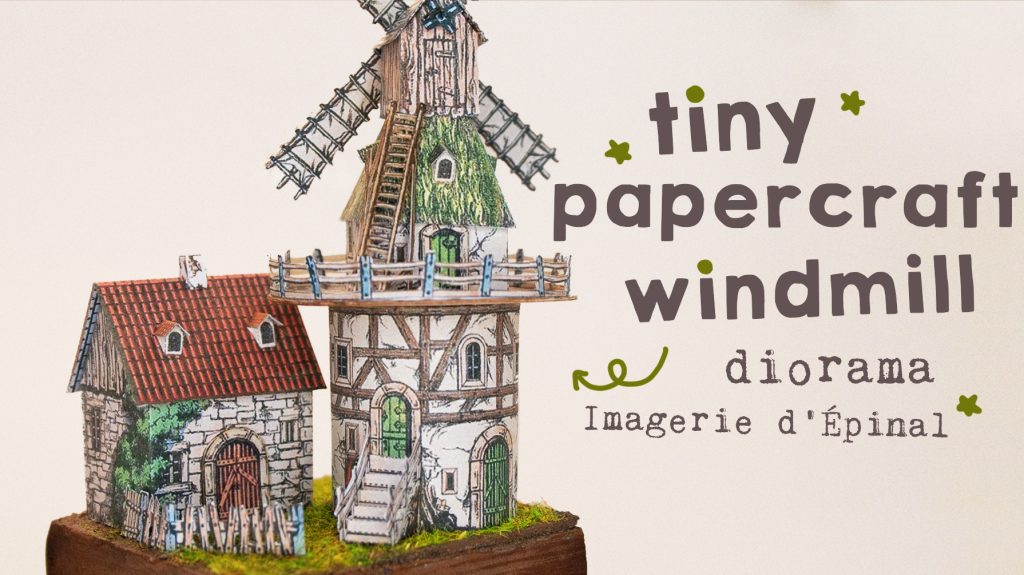
For this video, I used a pattern from Papermau and scaled it down to about 43% (you can easily do this in your printer settings under “scale”). I wanted the final diorama to look realistic and less like flat paper, so I made my own sturdy base and added thickness to the paper pieces wherever I could. For example, with the fence, you could just glue it normally, but I sandwiched an extra piece of mixed media paper between the two printed sides. This simple trick adds physical thickness and gives the whole thing so much more depth! For other elements, Papermau already provided optional cutouts for things like the window and door frames, which also helped bring the structure to life.
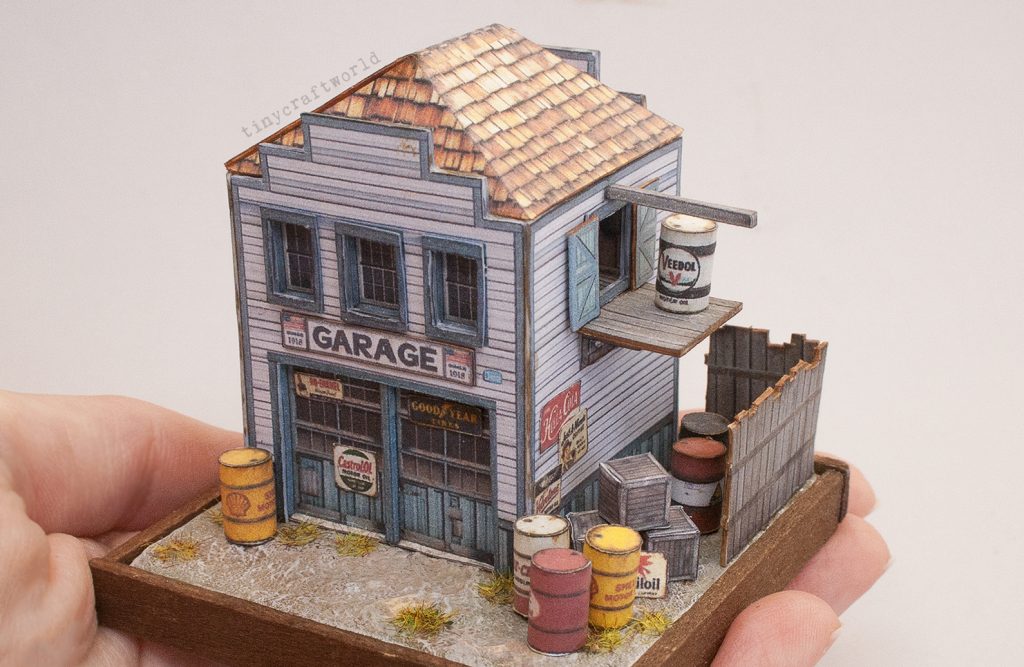
Using a paper model as a foundation is a really great option if you want to make a diorama but don’t want to design it entirely from scratch. It gives you a perfect base to work with, while still leaving tons of room for versatility and personal touches.
☢️ Future Inspiration: A Fallout Twist?
While building this, I kept thinking about how fun it would be to give the station a heavy Fallout video game vibe. You could make it look even more run-down, or have the barrels leaking bright green radioactive fluids using fluorescent paint. I think a project like that would be an absolute blast to try next time!
💡 Quick Tips for Scaling Down Papercrafts:
If you want to try scaling down a model like this, here are a few pointers from my experience:
- Paper Weight: I printed the main structure on 120gsm paper. However, for the tiny barrels and the signs glued to the garage, normal printer paper worked much better because it’s easier to roll and fold at a tiny scale.
- The Budget Base: For the textured ground, I used a cheap wall filler I bought at Ikea. The options at the hardware store were way too pricey, and while you could use official texture paste (like Liquitex) from an art store, that gets expensive fast. The budget wall filler worked perfectly!
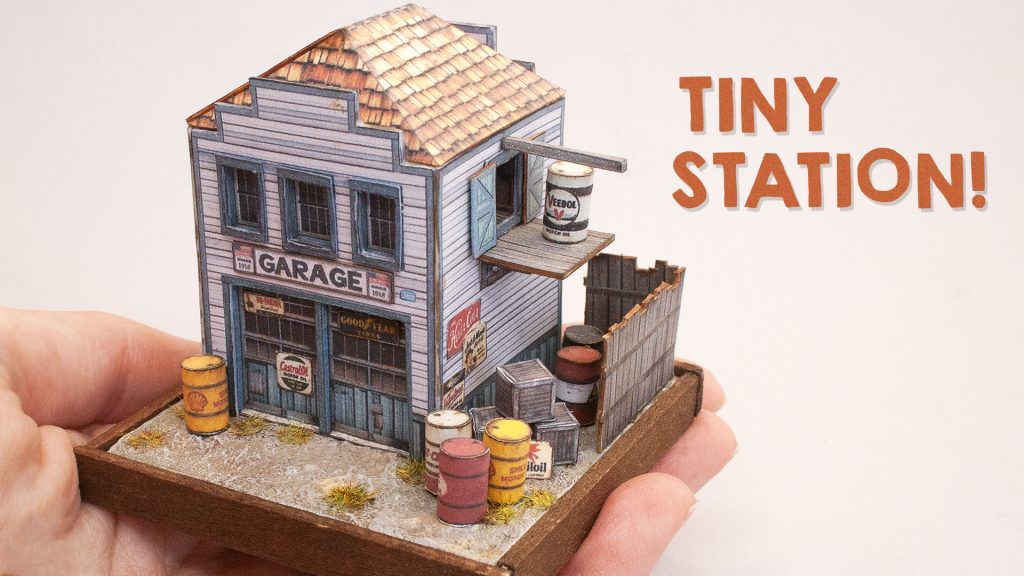
A massive shoutout to Papermau for the pattern—it was such a fun project to make, and I genuinely love the final result. Now, I just need to hunt down a little acrylic display cube to protect it from the dust!
MATERIALS AND TOOLS I USED:
- 120 gsm printing paper + mixed media paper for backing
- craft knife, scissors
- white wood glue / paper glue
- wall spackle for base
- wooden base

Leave a Reply