
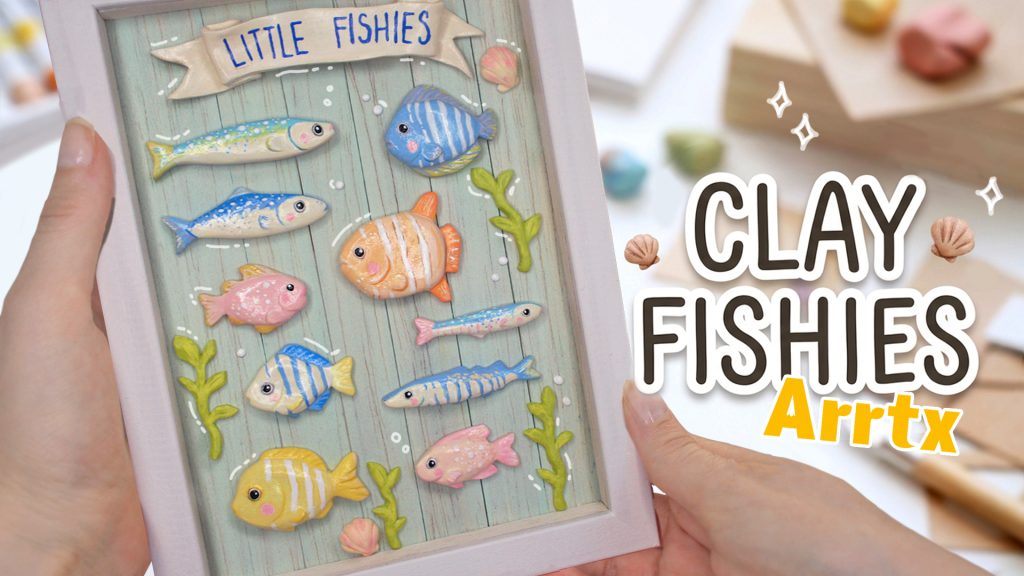
For my latest project, I wanted to create a cute, bright summer frame filled with hand-sculpted little fishies. The timing was actually perfect, because the lovely team at Arrtx contacted me last month and asked if I would try their new acrylic markers, and obviously, I said yes! I had never actually tried acrylic markers before, so I was pretty excited. The only markers I’ve ever had experience with are alcohol-based Copic markers, and those handle very differently.
Annnnyways, I know most people using Arrtx markers are painters and illustrators. Since I don’t really paint in my videos, I decided to use them for a craft project instead. My idea was to make a cute summer project with little fishies inside a frame. I really wanted it to be colorful and bright, and I do think I achieved that with the end result. I was really happy with how it turned out, and I think it looks so nice hung up on the wall!
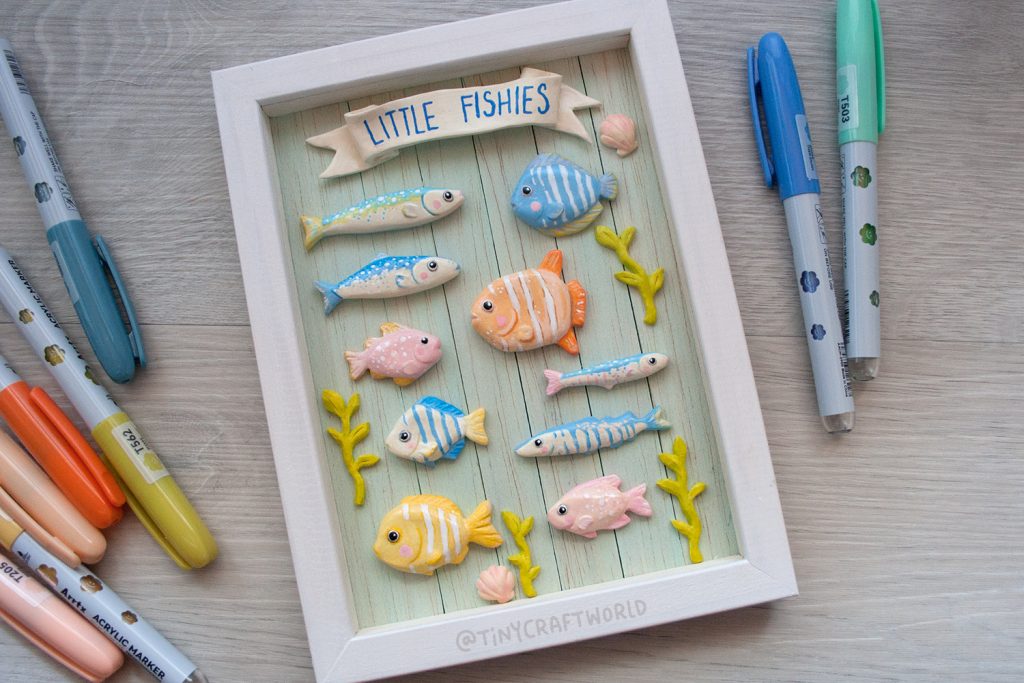
MATERIALS AND TOOLS I USED:
- arrtx acrylic markers
- air dry clay, I used Darwi Roc
- gesso
- gloss varnish (liquitex gloss varnish)
- picture frame
- balsa wood
- wall hanger
💡 Quick Tips The Materials:
- Clay: For the fish, I chose air-dry clay, but you could easily use polymer clay too—it really just depends on what you are most comfortable working with. The little seaweed and the two seashells in the frame were actually made from Fimo clay. The acrylic markers worked amazingly well on both surfaces, and it only took a single coat to get full coverage. This was a huge plus for me! Sometimes when I use regular acrylic paints on polymer clay, the paint just “pearls” on the surface, especially if the clay is super smooth. I also noticed that the paint from the markers dries much slower on polymer clay, so you could technically even mix your colors wet-on-wet if you wanted to.
- To Prime or Not to Prime?: I did use a gesso primer on the air-dry clay, but I also tested the markers without any primer at all, and honestly, they work fine either way. The only real difference I noticed is that if you don’t use gesso, the markers dry incredibly fast. It makes sense since air-dry clay is so porous and just soaks up the moisture right away. So, if you want a longer working window to blend or play with the colors, just put a coat of primer on first.
- The Finish: I wanted the fish to have a beautiful, glossy look when they were finished. Now, I know UV resin is incredibly popular for this kind of thing, but I feel like you can achieve the exact same effect with just a regular gloss varnish. Personally, I really dislike working with UV resin I feel like it’s a bit overused anyway, and it isn’t exactly great for your health, but that’s just my own personal gripe! A simple gloss varnish did the trick perfectly.



Leave a Reply